
Last updated October 31, 2026
 Wrought iron
 Wood & steel frame
 Farm & ranch
 Sliding driveway gates
 LiftMaster operators
Free on-site gate assessment - hinges, posts, and your LiftMaster or Nice gate operator checked before anything is quoted
The assessment is free and the quote is the invoice.
Get your free estimateGate Repair Troubleshooting: Common Problems and How to Fix Them
Here’s a number most gate owners never hear: roughly 90% of automated gate failures trace back to just six root causes. Motor. Control board. Sensor. Ground loop. Hinge. Power. That’s it. The symptom your gate is showing right now, whether it’s reversing for no reason, refusing to open, or beeping at you from the control panel, points directly at one of those six systems if you know how to read it. This guide walks you through the same diagnostic logic our Gate Repair services technicians use when they roll out to a job in Hollywood, so you can either fix the problem yourself or describe it to a repair company with enough precision to get a real answer instead of a vague “we need to see it first.”
Quick Answer
Gate repair troubleshooting starts with identifying which of six core systems is failing: power supply, motor, control board, safety sensors, ground loop, or physical hardware like hinges and wheels. Most DIY-fixable issues involve power interruptions, misaligned photo eyes, or debris on the track, while control board failures and ground loop faults typically require a professional with brand-specific diagnostic tools. Isolate the symptom, check the simplest causes first, and you will save yourself hours of frustration and avoid replacing parts that were never broken. For more guides & resources, see our blog.
Styles & brands we work with
Table of Contents
- Symptom-to-Cause Mapping: What Your Gate Is Actually Telling You
- Power Problems: The Most Common and Most Overlooked Cause
- Safety Sensor Test Sequence: The Step Most Homeowners Skip
- Ground Loop Detector Troubleshooting: The South Florida Rain Problem
- Error Codes on LiftMaster, FAAC, and BFT: Which Ones Mean DIY and Which Mean Stop
- Hinges, Wheels, and Track: When the Gate Is Fine but the Hardware Is Not
- How to Describe Your Gate Problem So You Get a Precise Quote
- Common Mistakes to Avoid
- When to Call a Professional
- Frequently Asked Questions
Symptom-to-Cause Mapping: What Your Gate Is Actually Telling You
Gates do not fail randomly. They fail in patterns, and each pattern corresponds to a specific component behaving in a specific way. When you learn to read the symptom as a signal rather than a nuisance, troubleshooting becomes a process of elimination instead of a guessing game. This is the framework we use on every service call from downtown Hollywood to the residential corridors west of 441.
The Six Root Causes and Their Signature Symptoms
Here is the mapping that covers the overwhelming majority of gate failures:
- Power supply problems cause a gate that is completely dead: no movement, no lights, no beeping. The gate behaves as if unplugged, because effectively it is.
- Motor failures cause a gate that hums but does not move, or moves far slower than it should, or starts moving and then stalls halfway through the cycle.
- Control board failures cause erratic behavior: the gate opens when you tell it to close, ignores remote commands intermittently, or flashes error codes that do not match any visible problem.
- Safety sensor malfunctions cause a gate that refuses to close, reverses immediately after closing, or stops mid-cycle and returns to open as though something were in the way.
- Ground loop detector faults cause a gate that stays open too long, closes on vehicles it should detect, or cycles open and closed on its own with no command.
- Hinge and hardware wear causes a gate that drags, scrapes, sags, or makes grinding noises while moving. You can often see the problem just by looking at the gate.
In Hollywood specifically, we see a higher proportion of ground loop and corrosion-related failures than inland areas. Salt air from the Atlantic works on hinges and control board contacts year-round, and the heavy summer rain saturates pavement in ways that wreak havoc on underground loop wiring. If your gate fails after a storm, that is a major diagnostic clue in itself.
Power Problems: The Most Common and Most Overlooked Cause
Before you touch anything else, verify power. A gate that is completely unresponsive, with no movement, no indicator lights, and no relay clicks, points to an electrical supply issue in the majority of cases. We have lost count of how many Hollywood homeowners called us convinced their motor was dead when the actual problem was a tripped GFCI outlet or a flipped breaker in a subpanel they forgot existed.
How to Check Gate Power Without Calling Anyone
- Test the outlet directly. Plug a lamp or phone charger into the outlet the gate operator is connected to. If the outlet is dead, you have found your problem.
- Check every breaker and GFCI. Gate operators in Hollywood are often wired to exterior GFCI outlets that trip during rain or humidity spikes. Reset each one, even the ones in the garage that do not seem related. Gates are sometimes wired to unexpected circuits.
- Look at the operator’s transformer light. Most residential operators including models from LiftMaster, FAAC, and BFT have a small LED on the control board that indicates incoming power. If that LED is dark while the outlet tests live, the transformer or internal fuse has failed.
- Inspect the disconnect switch. Commercial and some residential systems have a manual disconnect or toggle switch near the operator. It is surprisingly common for a landscaper or pool cleaner to bump it and cut power without anyone noticing.
If the outlet tests live, the breaker is on, and the board LED is dark, you likely have an internal transformer or fuse failure. That is a repair a trained technician can complete quickly, but it is not something we recommend tackling on your own once you are inside the operator housing. Low-voltage wiring carries less risk than line voltage, but the main power connection does not.
Safety Sensor Test Sequence: The Step Most Homeowners Skip
Here is the mistake that costs gate owners real money: they assume the motor is failing when the actual problem is a misaligned or obstructed photo eye sensor. The gate reverses, they panic, they replace a perfectly good motor or board, and the problem persists. We see this sequence unfold constantly. The fix costs nothing. The misdiagnosis costs hundreds.
Safety sensors, also called photo eyes, sit near the ground on either side of the gate opening. They beam an invisible infrared signal from one side to the other. If anything interrupts that beam while the gate is closing, the control board interprets it as a vehicle or person in the path and reverses the gate. When the sensors are misaligned, dirty, or blocked, the gate behaves exactly as if something were in the way, because as far as the board knows, something is.
Run This Test Sequence Before Calling a Technician
- Check for physical blockage. Look between the two sensor units. A branch, a potted plant that grew since last season, a trash can, even a spider web with enough density: any of these can trip the beam. Remove anything in the line of sight.
- Clean both sensor lenses. South Florida humidity leaves a film on exterior lenses that defuses the infrared signal. Wipe both lenses with a dry cloth, then with a damp cloth, then dry again. This simple step fixes a surprising number of “phantom” reversal issues.
- Check alignment visually. Most photo eyes have a small indicator light. When aligned properly, the receiving eye shows a steady green or solid red (varies by brand). When misaligned, the light flickers or goes dark. Look at both sensors. If one light is out, the alignment is off.
- Test the alignment. Gently adjust the sensor bracket until both indicator lights are steady. If the lights will not stabilize, the bracket may be bent from a mower bump or storm debris. Straighten it or replace the bracket.
- Test the gate twice. Close it from the remote, then close it from the keypad. Watch whether it reverses at the same point each time. If it reverses at the same point, something is still blocking or misaligned. If it reverses randomly, you may have an intermittent wiring fault, which moves you into professional territory.
This five-step sequence resolves a meaningful percentage of gate failures without any parts replacement. Run it before you spend money. If the sensors pass all five steps and the gate still reverses, that points toward the control board or a wiring fault, and those are jobs for someone who works on gates daily.
Ground Loop Detector Troubleshooting: The South Florida Rain Problem
Ground loop detectors are the least understood component on an automated gate, and in Hollywood they are also one of the most frequently misdiagnosed. Here is how they work: a loop of wire is buried in the pavement on the exit side of the gate. The loop creates an electromagnetic field. When a large metal object, like a car, passes over the loop, it disrupts the field, and the detector sends a signal to the control board to open or hold the gate open. It is the system that keeps your gate from closing on your car as you pull through.
Heavy rain saturates the pavement and the soil around the loop. That moisture changes the electrical characteristics of the loop circuit. The detector starts reading false signals. The gate stays open when no car is present. Or worse, the detector fails to see your car and the gate closes on it. Both behaviors trace back to the same component.
Symptoms That Point to the Ground Loop
- The gate opens on its own with no remote, keypad, or exit wand command.
- The gate stays open for minutes after a vehicle has passed, far longer than the normal hold time.
- The gate closes on vehicles that are still in the path.
- The behavior changes noticeably after heavy rain and returns to normal after a few dry days.
That last symptom is the giveaway in Hollywood. If your gate misbehaves after a storm and settles down when the pavement dries, you have a loop fault, almost certainly. The fix involves testing the loop resistance with a multimeter and either repairing the loop wire or adjusting the detector sensitivity. This is not a DIY job. Loop wire installation and repair requires cutting pavement, proper sealing, and precise resistance matching to the detector. A trained technician with the right detector tools can diagnose it in minutes, but it is one diagnosis you want done right the first time.
Error Codes on LiftMaster, FAAC, and BFT: Which Ones Mean DIY and Which Mean Stop
Modern gate operators speak to you through error codes. The problem is that most homeowners do not speak the language. Some codes tell you something simple, like a sensor obstruction. Others indicate a failed motor or a board-level fault that requires immediate professional attention. Knowing which is which saves you time and keeps you safe. Here is a practical guide to the codes we see most often on Hollywood gates.
LiftMaster LA400 and Residential Models
The LiftMaster LA400 is one of the most common residential swing gate operators in Florida. Its error codes are displayed as a number on the control board or through the MyQ app. Codes 4 and 5 indicate photo eye interruption or misalignment. Those are the DIY checks we covered in the sensor section. Code 31 indicates a motor fault, which in many cases means the motor capacitor has failed, a repair a professional can handle. Code 35 indicates a communication fault between accessories and the board. If you see code 31 or 35 repeatedly after resetting power, stop debugging and call a technician. Continuing to power-cycle the operator can compound the damage.
FAAC Swing Gate Operators
FAAC operators, common on higher-end residential and light commercial gates in Hollywood, use a diagnostic LED that blinks in patterns rather than displaying numbers. A steady slow blink means normal operation. A fast blink generally indicates an obstacle detection event, which points back to the safety sensors. A sequence of two fast blinks followed by a pause indicates a motor or capacitor issue. That is not a DIY repair. FAAC boards are precise instruments, and replacing a capacitor on the wrong model or with the wrong rating creates problems worse than the original failure.
BFT Sliding Gate Operators
BFT operators are widely used on sliding gates throughout South Florida. Their error codes appear as an “Er” followed by a number on the display. Er1 through Er4 generally point to limit switch issues or encoder faults on the motor. Er5 and Er6 indicate photocell obstruction, which is the DIY check. Er7 and above point to control board or motor failures. The pattern is consistent across brands: sensor and power issues are homeowner-friendly. Motor and board errors are where you stop touching the equipment and call someone whose job is gates.
One note that applies to all brands: write down the exact code, the brand, and the model number before you call a technician. That information is worth more than a three-minute description of the symptom. It tells us what the board thinks is wrong, and half of accurate diagnosis is knowing what the gate is already reporting.
Hinges, Wheels, and Track: When the Gate Is Fine but the Hardware Is Not
Not every gate failure is electrical. A gate that moves but struggles, scrapes, or sags is telling you something about the physical hardware. Swing gates live and die by their hinges. Sliding gates by their wheels and track. In Hollywood, corrosion accelerates every one of these failures because the salt air never stops working.
Signs Your Gate Hardware Is the Problem
- The gate makes a grinding or scraping sound while moving, especially near the end of travel.
- The gate sags visibly at the latch end, leaving a gap at the top or bottom.
- The gate moves smoothly for most of the stroke but sticks or binds at one specific point.
- You can see rust streaks running down from the hinge or wheel brackets.
- The gate post itself wobbles when the gate moves.
Hinge problems on swing gates compound quickly. A gate that drags puts extra load on the motor. That motor works harder. It draws more current. It generates more heat. Eventually it fails, and the repair bill is now a motor replacement plus hinge repair instead of hinge repair alone. This is why we tell Hollywood customers to address hardware problems early. The physics does not forgive neglect.
For sliding gates, the wheels and track are the critical path. Debris in the track, a wheel that has lost its bearing, a track section that has shifted out of level: any of these creates resistance. The operator pushes harder to compensate, and the same cascade follows. You can inspect the track yourself: remove obvious debris, check for rust scale buildup, and look for wheels that do not make contact with the track at all. If a wheel is floating or visibly wobbling, that is a replacement job for a professional. Swapping a gate wheel under tension is not a safe DIY project.
How to Describe Your Gate Problem So You Get a Precise Quote
The difference between a vague service call and an efficient one often comes down to how the problem is described. When you call a gate repair company and say “my gate is broken,” the dispatcher has to ask a dozen clarifying questions before the technician even knows what tools to bring. When you describe the failure with precision, you get a more accurate quote, faster scheduling, and a technician who arrives with the right parts on the truck. Here is the information our team in Hollywood asks for on every call, and how to gather it.
The Five-Point Description That Gets Results
- The symptom in one sentence. Not “it’s broken.” Say “the gate reverse immediately after it starts closing, every time.” That sentence alone narrows the diagnosis dramatically.
- The brand and model of the operator. Look at the operator housing. LiftMaster, FAAC, BFT, Linear: the name is printed on the unit. The model number is usually on a label on the side or inside the cover. This tells us which error codes to expect and which parts are likely involved.
- When the problem started. Did it begin after rain? After a power outage? After landscapers were on the property? After you replaced a remote battery? The trigger event is diagnostic gold.
- What you have already tried. If you reset the breaker, cleaned the photo eyes, and checked for obstructions, tell us. It saves repeating steps and shows the problem is more involved than a tripped GFCI.
- The behavior pattern. Does the gate fail every time or intermittently? At the same point in the cycle or randomly? Does it work from the remote but not the keypad, or vice versa? Pattern tells us more than any single symptom.
When you provide these five points, you shift the conversation from “we need to see it first” to “based on what you are describing, the likely culprit is X, and here is what that repair costs between Y and Z.” That is the kind of answer homeowners in Hollywood deserve, and it is what we aim to give on every call to electric gate repair in Hollywood.
Common Mistakes to Avoid
- Replacing the remote batteries without testing anything else. Dead remote batteries do not cause a gate to reverse, grind, or stop mid-cycle. If the gate responds to the keypad or wall button but not the remote, batteries are the issue. If the gate misbehaves on all inputs, batteries were never the problem.
- Power-cycling the operator repeatedly. One reset is fine. Five resets in ten minutes stresses the control board and can compound an existing fault. If the gate does not respond after one clean power reset, the problem needs diagnosis, not repetition.
- Ignoring a gate that is getting slower. Gates do not gradually lose speed and then recover on their own. A slowing gate is telling you about rising resistance, a failing capacitor, or a worn motor. Waiting until it stops completely turns a smaller repair into a larger one.
- Bypassing the safety sensors because they are “annoying.” Some homeowners tape the photo eyes together or wire them out of the circuit to stop the gate from reversing. This disables a safety system designed to prevent serious injury. Never do this. There is a reason safety sensors are required by code in Hollywood and nationwide.
- Lubricating hinges and wheels with the wrong product. WD-40 is not a lubricant for gate hardware. It strips existing lubrication and speeds up corrosion. Use a proper lithium grease or silicone lubricant on hinges, and nothing at all on the track if it is not designed for lubrication. We have seen Hollywood gates destroyed by well-meaning owners dousing the track in motor oil, which then collected sand and became abrasive paste.
- Attempting to tension or replace gate springs without training. Gates with counterbalance springs or torsion springs store enormous energy. A spring under tension that releases suddenly can cause serious injury. Gate repair in Hollywood that involves spring tension is professional work, full stop.
When to Call a Professional
There is a clear line between troubleshooting and repair. You have crossed into professional territory when the problem involves a control board, a motor, a ground loop, or any spring or cable under tension. These systems require diagnostic tools, brand-specific knowledge, and often replacement parts that must be matched precisely to the operator model. Also call a professional if you have run through the DIY checks and the gate still misbehaves, or if the gate is making grinding sounds that indicate hardware failure requiring disassembly. Carter Gate Repair works on all nine major gate brands including LiftMaster, FAAC, BFT, and Linear, and we are brand-agnostic: we fix the gate you already have, not the one we would prefer to sell you. Carter Gate Repair offers free estimates in Hollywood: call (866) 665-5592.
Frequently Asked Questions
Gate repair in Hollywood typically ranges from $150 to $350 for common issues like sensor realignment, capacitor replacement, or power supply repairs, while control board replacements and motor replacements run $500 to $1,400 depending on the operator brand and model. The exact price depends on the specific component, but we quote every repair upfront before any work starts. Call (866) 665-5592 for a free estimate with a specific number based on your operator.
A gate that reverses immediately after closing begins is almost always responding to an interrupted safety sensor signal, meaning the photo eyes are misaligned, dirty, or blocked. Run the five-step sensor test sequence described above before calling anyone. If the sensors pass and the gate still reverses, the problem is likely in the control board or sensor wiring.
We schedule service based on technician availability and the urgency of the issue, and we work to get to Hollywood customers as quickly as possible without overpromising a dispatch time we cannot keep. What we can promise is a specific appointment window and a technician who arrives on time. Call (866) 665-5592 and tell us exactly what the gate is doing, and we will give you a realistic timeline.
No. A failed control board does not mean you need a new operator. Boards are replaceable components, and replacing the board is typically far less expensive than replacing the entire system. We replace boards on LiftMaster, FAAC, BFT, Linear, and other brands regularly. The one exception is when the operator is so old that replacement boards are no longer manufactured, in which case gate installation in Hollywood may be the more cost-effective path.
Rain-saturated pavement changes the electrical characteristics of your ground loop detector, causing the gate to stay open, close on vehicles, or cycle on its own. This is one of the most common post-storm gate failures in Hollywood because of our intense summer rain and high water table. The fix involves testing and adjusting the loop detector or repairing the loop wiring, which is a professional repair.
We work on nine gate-system brands including LiftMaster, FAAC, BFT, Linear, Viking, Ghost Controls, DoorKing, Elite, and Mighty Mule, spanning entry-level residential to high-cycle commercial operators. We are brand-agnostic, which means we fix the gate you have rather than steering you toward a replacement from a brand we sell. See our Carter Gate Repair home page for the full range of services.
The Bottom Line
Your gate is almost certainly failing because of one of six systems: power, motor, board, sensor, loop, or hardware. The symptom you are seeing points to which one. Power and sensor issues are often fixable with a reset, a cleaning, or a realignment. Board, motor, and loop failures require professional tools and brand knowledge. Hardware wear demands early intervention before a sagging hinge becomes a dead motor. The fastest path to a working gate in Hollywood is precise diagnosis: know your operator brand and model, describe the symptom accurately, and call a gate repair specialist who works on the gate you have rather than selling you a replacement you may not need. If you are in Hollywood and your gate is down, call (866) 665-5592 for a free estimate. We will tell you exactly what is wrong and what it costs before any work begins.
Written by the team at Carter Gate Repair, serving Hollywood since 2015.
See the difference
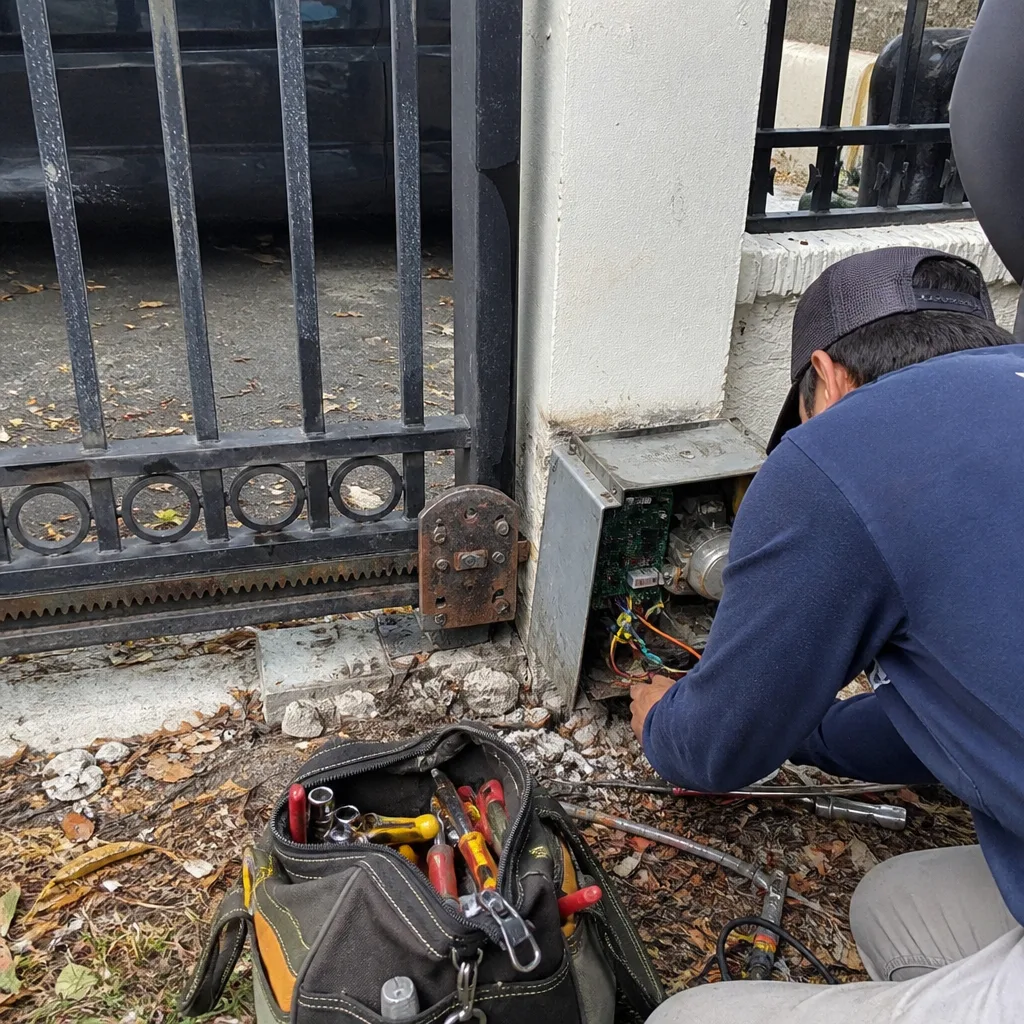 Before
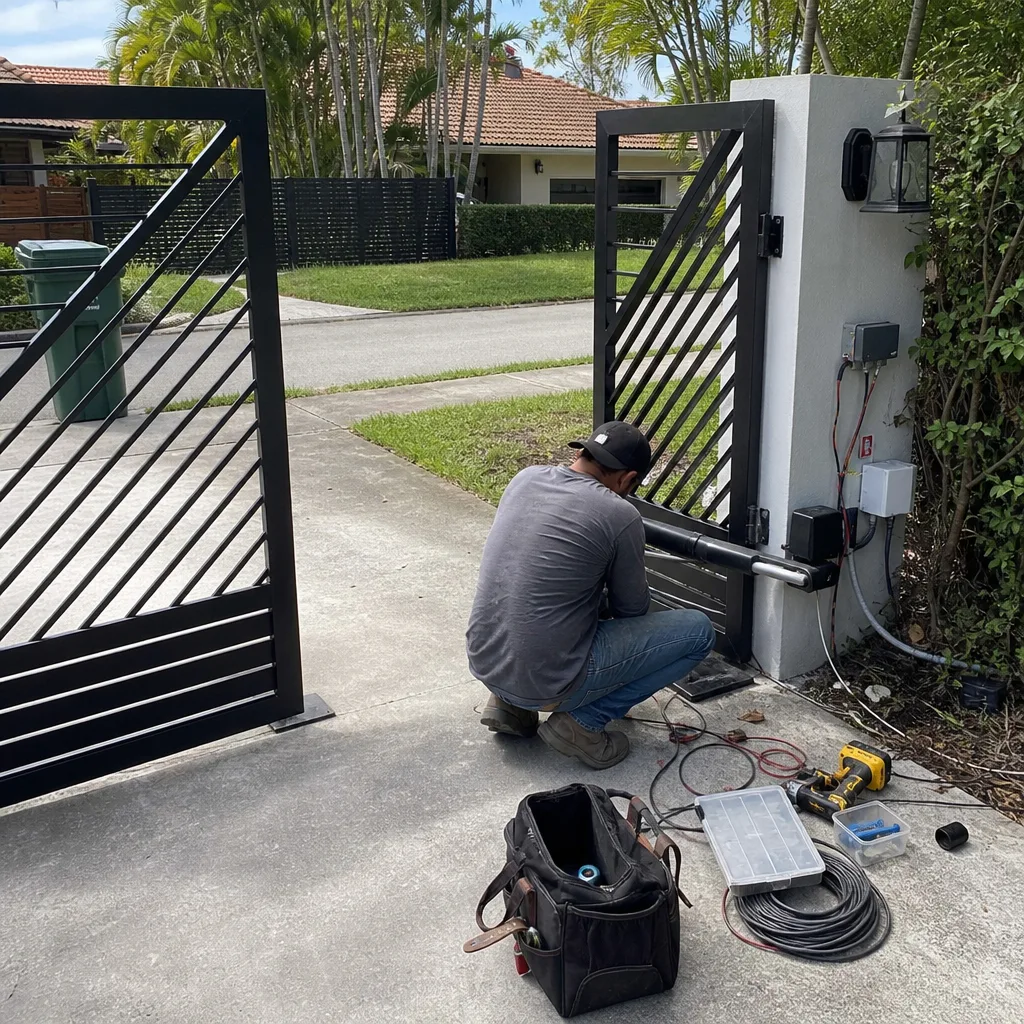 After
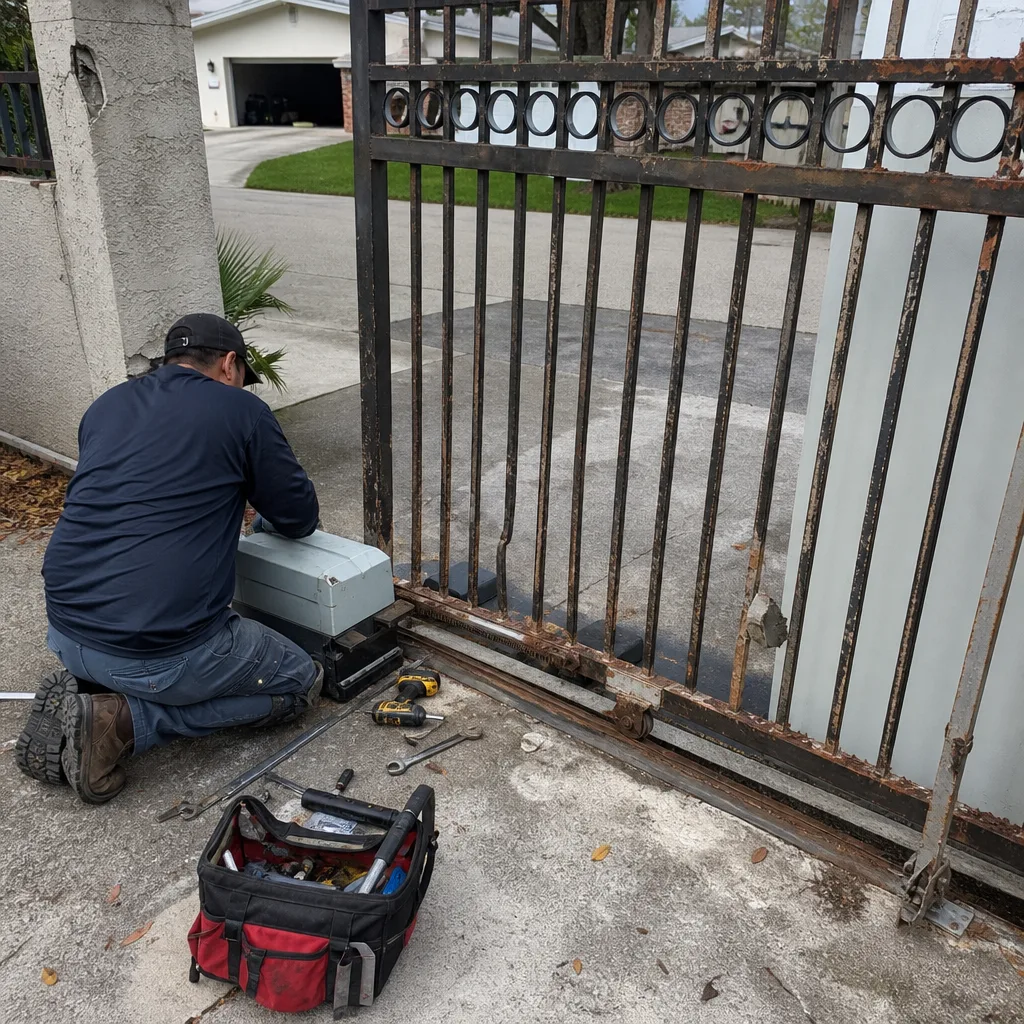 Before
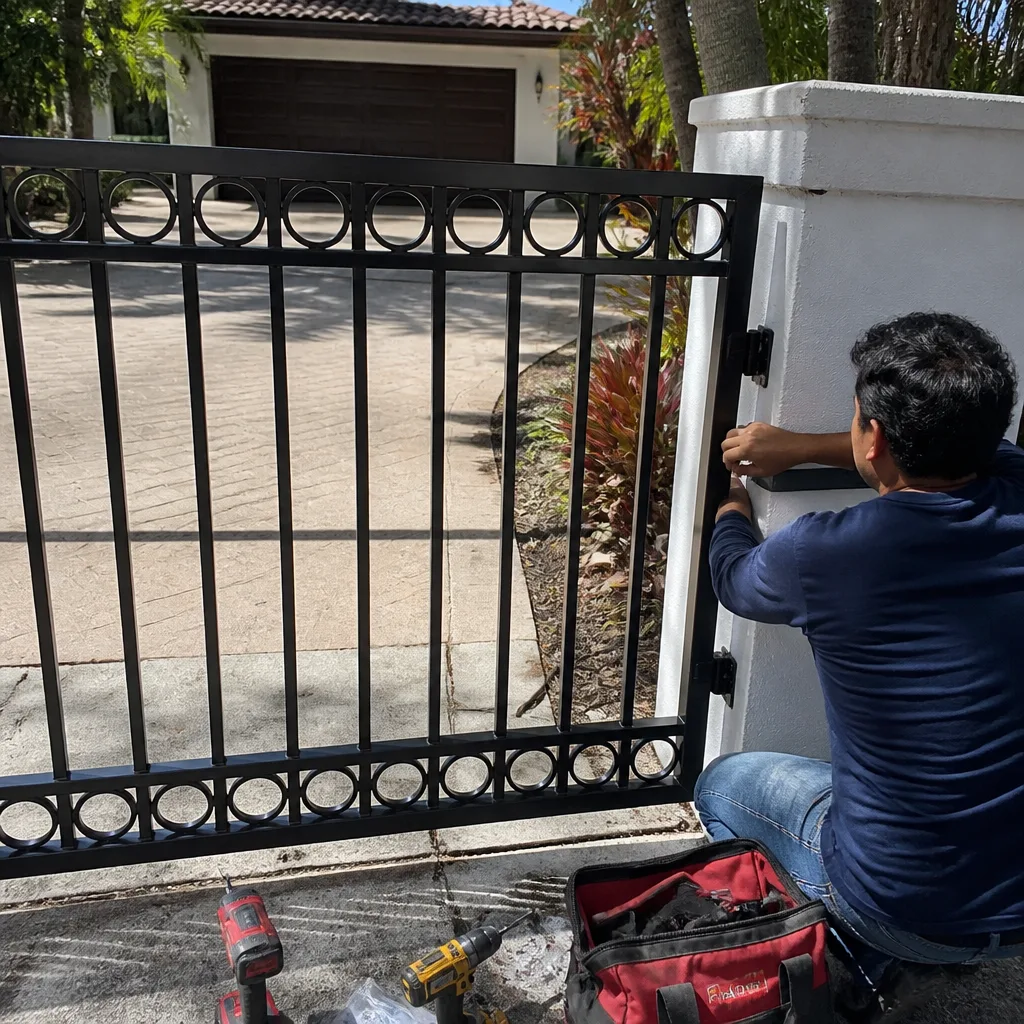 After
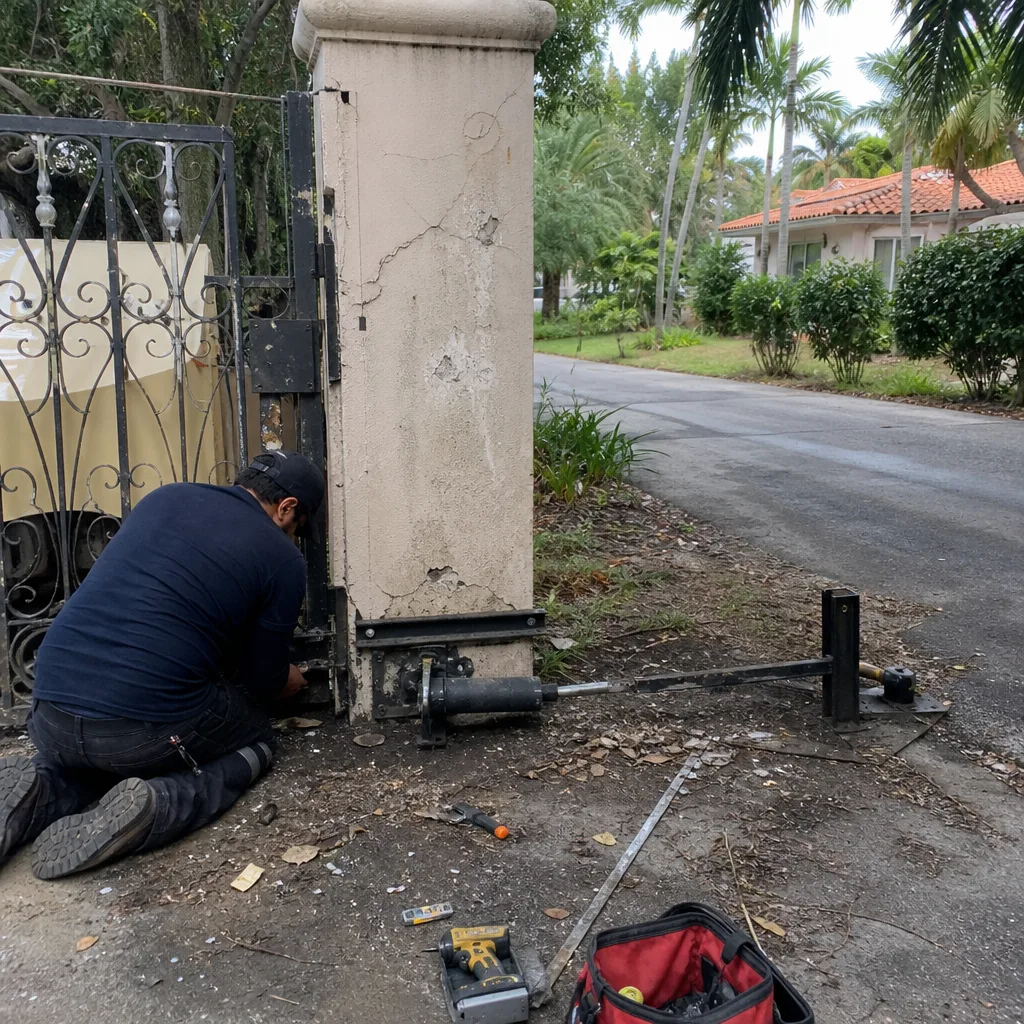 Before
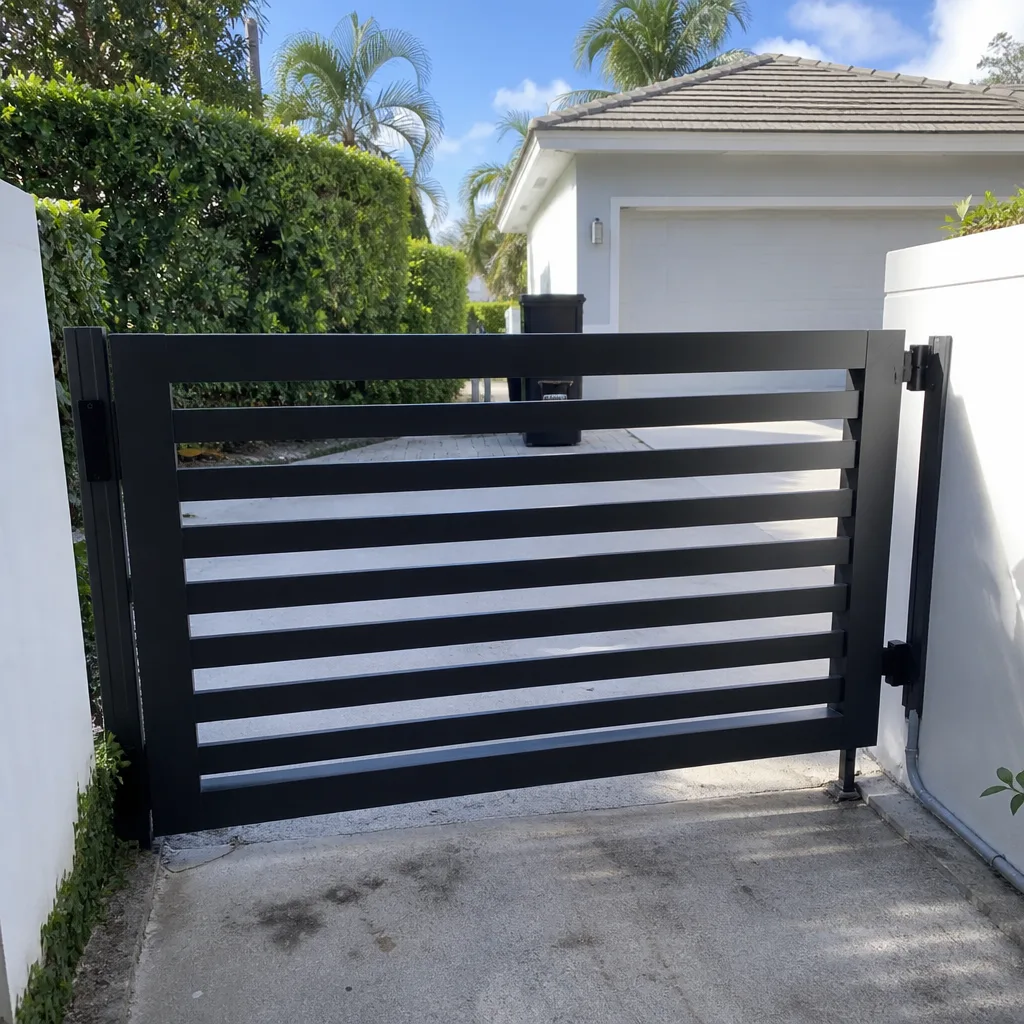 After